How To Tie A Bow With Ribbon: A Comprehensive Guide
Creating a beautiful bow with ribbon is a skill that is both practical and artistic, adding a touch of elegance to gifts, decorations, and fashion accessories. Bow tying might seem daunting at first, but with a little practice and the right techniques, anyone can master the art. Whether you are looking to enhance the presentation of a gift, adorn your home, or create a unique fashion statement, knowing how to tie a bow with ribbon is an invaluable skill. In this guide, we will take you through a detailed journey of understanding ribbons, exploring various bow styles, and providing step-by-step instructions to achieve the perfect bow.
The versatility of ribbon bows makes them a popular choice for a wide range of applications. From simple, classic bows to intricate, layered designs, the possibilities are endless. This guide is designed to be your go-to resource, offering insights, tips, and tricks to improve your bow-tying abilities. We'll cover everything from selecting the right ribbon to troubleshooting common mistakes, ensuring you have all the knowledge you need to become a bow-tying expert.
Understanding the fundamentals of ribbon types and bow styles is essential for crafting the perfect bow. Throughout this article, we will delve into the various types of ribbons available, the different bow styles you can create, and the specific techniques required for each. By the end of this guide, you'll not only know how to tie a bow with ribbon but also how to choose the best ribbon for your project and achieve the desired aesthetic effect. Let's dive into the world of ribbons and discover the magic of bow tying!
Table of Contents
- Understanding Ribbons
- Types of Bows
- Basic Bow-Tying Technique
- Double Loop Bow
- Floral Bow
- Tailored Bow
- How to Tie a Bow with Ribbon
- Choosing the Right Ribbon
- Decorative Bow Uses
- Troubleshooting Common Mistakes
- Creative Bow Ideas
- Maintaining Bow Shape
- Frequently Asked Questions
- Conclusion
Understanding Ribbons
Ribbons are an essential component in crafting bows. They come in a variety of materials, widths, and textures, each influencing the final look of your bow. Understanding the properties of different ribbons is crucial in achieving the desired effect.
Silk ribbons are known for their luxurious feel and glossy finish, making them a popular choice for formal occasions. Grosgrain ribbons, with their ribbed texture, are more sturdy and suitable for structured bows. Satin ribbons offer a smooth appearance and are versatile, fitting well with both casual and formal settings.
When selecting a ribbon, consider the weight and stiffness, as these factors will affect how the bow holds its shape. Wired ribbons have thin wires along the edges, providing extra support for creating full, rounded bows. Non-wired ribbons, while more flexible, may require additional techniques to maintain their form.
- James Bolam
- Ssh Remoteiot Raspberry Pi Free
- Cne Consulta Centro De Votación Venezuela
- Melanie Joly Daughter Romy
Color and pattern are also important considerations. Solid colors provide a classic look, while patterned ribbons can add a playful or thematic touch. Consider the occasion and the recipient's preferences when choosing the ribbon's color and style.
Types of Bows
The art of bow making offers a plethora of styles to explore. Each type of bow has its unique characteristics and applications, allowing for creative expression in various settings.
The classic bow is the most common and easiest to make, consisting of two loops and two tails. It's suitable for gift wrapping and simple decorations. The double loop bow, as the name suggests, features an additional set of loops, adding volume and interest.
For those looking to make a statement, the floral bow is an excellent choice. Its multiple loops resemble petals, creating a flower-like appearance. This bow is perfect for weddings, parties, or as a centerpiece on a gift.
The tailored bow is a more sophisticated option, with sharp edges and precise folds. This style is often used in fashion accessories or as part of formal decor, providing a polished and elegant finish.
Other types of bows include the pom-pom bow, ideal for festive occasions, and the layered bow, which combines different ribbons for a textured look. Each style requires different techniques and levels of skill, making bow making an endlessly fascinating craft.
Basic Bow-Tying Technique
Learning the basic bow-tying technique is the foundation for all other bow styles. Once mastered, it becomes easier to experiment with more complex designs.
Begin by cutting a length of ribbon, ensuring you have enough to create the desired size of the bow. A good rule of thumb is to use three to four times the width of your gift or object as a starting point.
Create a loop with one end of the ribbon, holding it in place with your thumb and index finger. Repeat the process with the other end, crossing it over the first loop to form an "X" shape. Adjust the size of the loops to your preference, ensuring they are symmetrical.
Next, take the top loop and pass it under the intersection of the loops, pulling it through to form the knot. Tighten the knot by gently pulling on the loops and tails, adjusting as necessary to achieve the desired shape and balance.
Trim the ends of the tails at an angle or in a "V" shape for a neat finish. Practice this basic technique until you feel comfortable, as it serves as the stepping stone for more advanced bows.
Double Loop Bow
The double loop bow is a step up from the basic bow, offering added fullness and visual interest. It’s a great choice for special gifts or decorative elements that need a little extra flair.
To create a double loop bow, start with a longer length of ribbon than you would for a basic bow. This additional length allows you to form the extra loops without running short.
Begin by creating a loop at one end of the ribbon, as you would with a basic bow, and hold it in place. Form a second loop of the same size on the same side, stacking it behind the first loop.
Repeat the process on the opposite side, creating two matching loops. You should now have four loops in total, two on each side.
Cross the two middle loops to form an "X," and pass the top loop through the bottom, pulling it tight to secure the bow. Adjust the loops and tails for symmetry, and trim the tails as desired.
The double loop bow adds a lush, sophisticated touch to any project, making it a favorite among crafters and decorators alike.
Floral Bow
The floral bow, also known as a rosette bow, is a stunning design that mimics the appearance of a blossom. It's perfect for adding a touch of elegance to gifts, wreaths, or table centerpieces.
To create a floral bow, you'll need a long piece of ribbon and a bit of patience. The key to this bow is creating multiple loops of varying sizes to achieve the petal effect.
Start by creating a small loop at the center of the ribbon, securing it with your thumb and index finger. Continue forming loops, gradually increasing their size, and layering them around the center loop.
As you add loops, twist the ribbon slightly to create dimension and texture, giving the bow a more lifelike appearance. The number of loops will depend on your preference and the desired fullness of the bow.
Once you're satisfied with the number of loops, secure the center with a piece of wire or a twist tie, making sure it holds the shape firmly. Trim the tails to your liking or let them cascade down for added drama.
The floral bow is a showstopper, perfect for occasions that call for a little extra beauty and charm.
Tailored Bow
The tailored bow is a sleek and structured design, ideal for formal settings or fashion accessories. It requires precision and attention to detail but offers a polished and professional finish.
Begin by cutting a length of ribbon, keeping in mind that this bow relies on sharp, clean lines. Fold the ribbon in half to find the center, then create a loop on one side, bringing the end to the middle.
Repeat the process on the other side, ensuring the loops are symmetrical and aligned. Adjust the loops if necessary to maintain balance and proportion.
Next, fold the ribbon tails inwards to form sharp angles, creating a defined edge. Secure the center with a contrasting ribbon or a decorative element, such as a button or brooch, to complete the look.
The tailored bow is a sophisticated choice for those who appreciate clean lines and minimalist design, making it a versatile option for a variety of applications.
How to Tie a Bow with Ribbon
Mastering the art of tying a bow with ribbon involves understanding the nuances of different techniques and styles. With practice, you can create bows that are both beautiful and functional.
Begin by choosing the appropriate ribbon for your project, considering factors such as color, texture, and width. Once you have your ribbon, cut it to the desired length, keeping in mind the size of the bow you wish to create.
Follow the basic bow-tying technique as outlined earlier, adjusting the loops and tails to suit your preferences. For more intricate designs, refer to the specific steps for each bow style, such as the double loop or floral bow.
Remember to secure the center of the bow with wire or a knot, ensuring it holds its shape. Practice makes perfect, so don't be discouraged if your first attempts aren't flawless. With time, you'll develop the confidence and skills needed to create stunning bows with ease.
Whether you're wrapping a gift, decorating your home, or crafting a fashion accessory, knowing how to tie a bow with ribbon opens up a world of creative possibilities.
Choosing the Right Ribbon
Selecting the right ribbon is a crucial step in achieving the perfect bow. The material, color, and width of the ribbon all play a role in the final look and feel of your creation.
Consider the occasion and the recipient's preferences when choosing the ribbon's color and style. For formal events, opt for luxurious materials like silk or satin, while grosgrain or cotton ribbons are suitable for more casual settings.
Think about the size and scale of the object you're decorating. Wider ribbons create bolder statements, while narrower ribbons offer a more delicate touch.
Patterned ribbons can add a playful element, but be mindful of mixing patterns to avoid a cluttered appearance. When in doubt, a solid color ribbon is a classic choice that never goes out of style.
The right ribbon can elevate your bow from simple to stunning, so take the time to select the best option for your project.
Decorative Bow Uses
Bows are versatile decorative elements that can enhance a wide range of items and settings. Understanding the various uses of bows can inspire creativity and innovation in your projects.
Gift wrapping is perhaps the most common use for bows, adding a personal and thoughtful touch to presents. A well-tied bow can transform even the simplest packaging into a work of art.
Bows are also popular in home decor, adorning wreaths, garlands, and centerpieces. They add color and texture, creating a festive atmosphere for holidays and special occasions.
Fashion accessories, such as hairbands, hats, and scarves, often feature bows as a decorative element. They provide a touch of femininity and elegance, elevating the overall look.
In weddings and events, bows are used to embellish everything from bouquets to table settings, creating a cohesive and stylish theme.
The possibilities are endless, and with a little imagination, you can find new and exciting ways to incorporate bows into your life.
Troubleshooting Common Mistakes
Even experienced crafters can encounter challenges when tying bows. Common mistakes can lead to uneven loops, loose knots, or lackluster appearance. However, with a few troubleshooting tips, these issues can be easily resolved.
Uneven loops are a common problem, often caused by not measuring the ribbon properly or not pulling the loops evenly. To fix this, ensure that your ribbon lengths are equal and that you pull the loops with consistent tension.
If the knot is too loose, it can cause the bow to lose its shape. Make sure to pull the knot tightly and securely, using a twist tie or wire if necessary to hold it in place.
For bows that lack volume, consider using a wider ribbon or adding extra loops to create a fuller appearance. Wired ribbons can also help maintain the bow's shape and provide additional support.
Practice and patience are key to overcoming these challenges, and with time, you'll be able to create beautiful bows with confidence.
Creative Bow Ideas
Once you've mastered the basics of bow tying, it's time to get creative and explore new ideas and techniques. Experimenting with different styles, materials, and embellishments can lead to unique and eye-catching designs.
Consider using multiple ribbons in contrasting colors or textures to create a layered effect. This adds depth and interest to your bow, making it stand out.
Incorporate decorative elements, such as beads, buttons, or charms, into your bow for a personalized touch. These additions can reflect the recipient's personality or the theme of the occasion.
Try experimenting with unconventional materials, such as burlap, lace, or even fabric scraps, to create a rustic or vintage look.
Think outside the box and explore new ways to incorporate bows into your projects, whether it's adding them to clothing, home decor, or even artwork.
The possibilities are endless, and with a little imagination, you can create bows that are truly one-of-a-kind.
Maintaining Bow Shape
Once you've created the perfect bow, it's important to maintain its shape and appearance. Proper care and storage can help ensure your bow looks its best for as long as possible.
When transporting or storing bows, avoid crushing or bending them, as this can cause the loops to become misshapen. Instead, store them in a box or container with plenty of space to prevent damage.
If your bow becomes wrinkled or flattened, try using a steamer or lightly pressing it with a warm iron to restore its shape. Be sure to use a low heat setting and place a cloth between the ribbon and the iron to prevent damage.
For wired ribbons, gently reshape the loops by bending the wire back into place, taking care not to create creases or kinks.
With proper care, your bows can remain beautiful and vibrant, ready to adorn gifts, decorations, or accessories at a moment's notice.
Frequently Asked Questions
What type of ribbon is best for making bows?
The best type of ribbon for making bows depends on the desired look and application. Wired ribbons are great for maintaining shape, while satin or silk ribbons offer a smooth, elegant finish.
How do I make a bow look fuller?
To make a bow look fuller, use a wider ribbon or add extra loops. Wired ribbons can also help maintain a voluminous shape.
Can I use fabric instead of ribbon for bows?
Yes, you can use fabric to create bows. Cut the fabric into strips and follow the same bow-tying techniques. Fabric bows offer a unique, textured appearance.
How do I prevent my bow from coming undone?
Ensure the knot is tied tightly and securely. Using a twist tie or wire can help hold the bow in place and prevent it from coming undone.
Are there any eco-friendly ribbon options?
Yes, eco-friendly ribbon options include ribbons made from organic cotton, recycled materials, or natural fibers like jute and hemp.
What is the easiest bow style for beginners?
The classic bow is the easiest style for beginners, requiring just two loops and two tails. Once mastered, you can explore more complex designs.
Conclusion
In conclusion, learning how to tie a bow with ribbon is a valuable skill that enhances various aspects of crafting, decorating, and gift-giving. By understanding the different types of ribbons and bow styles, you can create beautiful and unique designs that suit any occasion.
With practice and creativity, you'll be able to master the art of bow tying, transforming simple ribbons into stunning works of art. Whether you're decorating a gift, adding flair to your home, or crafting a fashion accessory, the possibilities are endless when you know how to tie a bow with ribbon.
We hope this comprehensive guide has provided you with the knowledge and inspiration needed to embark on your bow-tying journey. Remember, practice makes perfect, so don't be afraid to experiment and try new techniques. Happy bow making!
For additional tips and inspiration, consider exploring [this external resource](https://www.instructables.com/id/How-to-Make-a-Bow-with-Wired-Ribbon/).
- Gal Gadot P Diddy Po
- Raspberry Pi Remote Iot Download Free
- Sophie Rain Erome
- Does Camilla Araujo Do Fans
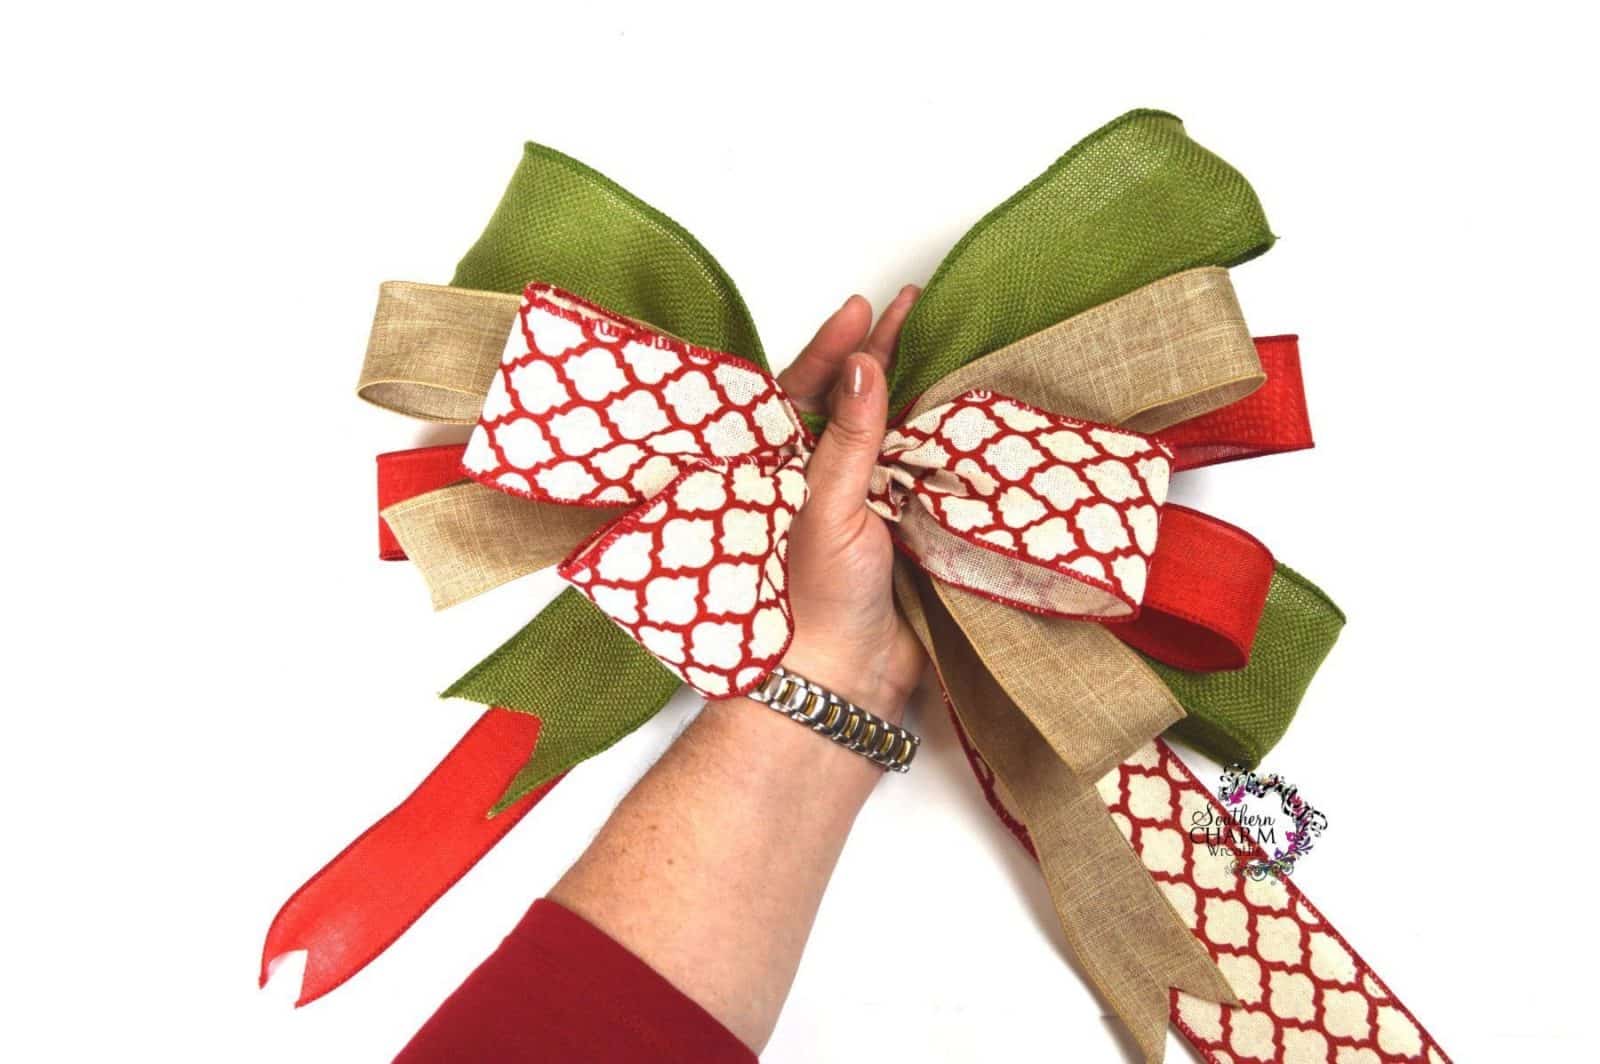
How to Tie Multiple Ribbon Bow Part 5 Southern Charm Wreaths

tied Decorative ribbon bow tie for wedding with grosgrain , tie bow ribbon

